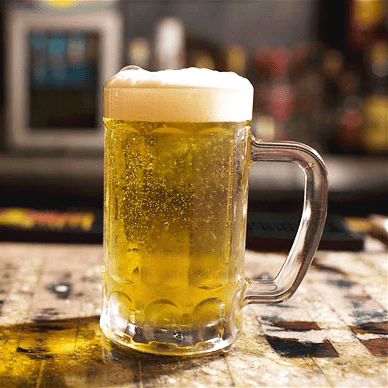
 Lagering beer is a process that is necessary to actually produce the characteristic of a lager beer. The word “lager” comes from the German word for stockroom or warehouse, and to lager your beer is to lay it down in storage at cold temperatures. To develop the smooth, clean flavors required of lagers, it’s essential to practice good lagering techniques, whether you are lagering beer at a brewer or lagering beer at home.
The practice of lagering beer was developed by Bavarians who placed their beer in cold caves to improve the beer’s stability – essentially so that it would keep through the warmer seasons. Over time, this practice isolated bottom-fermenting yeast strains that preferred those cooler temperatures. The lager yeasts we use today in homebrewing are derived from those strains.
One of the main characteristics of lager yeasts – and one of the reasons lagers are fermented at lower temperatures – is that they produce fewer esters and other aromatic components than ale yeasts. A good example of this is the difference between the fruity, spicy characteristics of a Belgian ale against a clean German lager. Depending on the style you’re making, you may or may not want those prominent yeast characteristics. With the possible exception of some high gravity lagers (like bocks), most lagers should not have prominent fruity esters.
One thing to look out for when lagering beer at home is diacetyl. Diacetyl is a natural byproduct of fermentation. In high concentrations, it smells and tastes just like movie theater popcorn. In most lagers, diacetyl should not be detectable, though some lager styles permit a small amount of it. Luckily, yeast consumes the precursors of diacetyl. A diacetyl rest – a small increase in temperature between primary and secondary fermentation – is sometimes used when fermenting a lager.
So how does one go about lagering beer at home? Follow the procedures below for a standard lager fermentation:
- Pitching: Lagers require 2-3 times as much yeast as ales. For an average gravity lager, two liquid yeast packets should be sufficient. For a high gravity lager, you may need three. You can also make a yeast starter to grow your yeast colony to the appropriate size. Check out Mr. Malty’s Yeast Pitch Calculator to figure out exactly how much yeast you should pitch into your lager.
- Primary fermentation: Ferment your Lager beer within the temperature range specified by the yeast strain you’re using, usually between about 48°-52°F, though it can vary by as much as 5°-10° on either side depending on the particular beer yeast you’re using. Try to keep the temperature consistent. If you have a cool basement, you may be able to try lagering your homebrew beer during the winter (or even year round depending on your location) without a fridge or freezer.
- Diacetyl rest (optional): For 1-3 days at the end of primary fermentation, allow the fermentation temperature to increase to about 60°-65°F. During this time, the lager yeast will reduce diacetyl in the beer.

- Lagering/cold storage: Transfer the beer to a secondary fermenter and store for 1-2 months at 32°-40°F. Most homebrew lager recipes call for a 1-2 month lagering period, though the occasional strong lager may be kept in cold storage for three months or longer. During this time the beer will condition and flavor will improve over time.
Have you every tried lagering beer at home? What’s your favorite lager style? Share in the comments below!
—–
David Ackley is a beer writer, brewer, and self-described “craft beer crusader.” He holds a General Certificate in Brewing from the Institute of Brewing and Distilling and is founder and editor of the Local Beer Blog.

A part left out at the end……will there be sufficient yeast left to bottle carbonate after the 1-2 month layering or will you need to re-pitch another yeast with the sugar?
Mike, you will not need to add any additional yeast.